
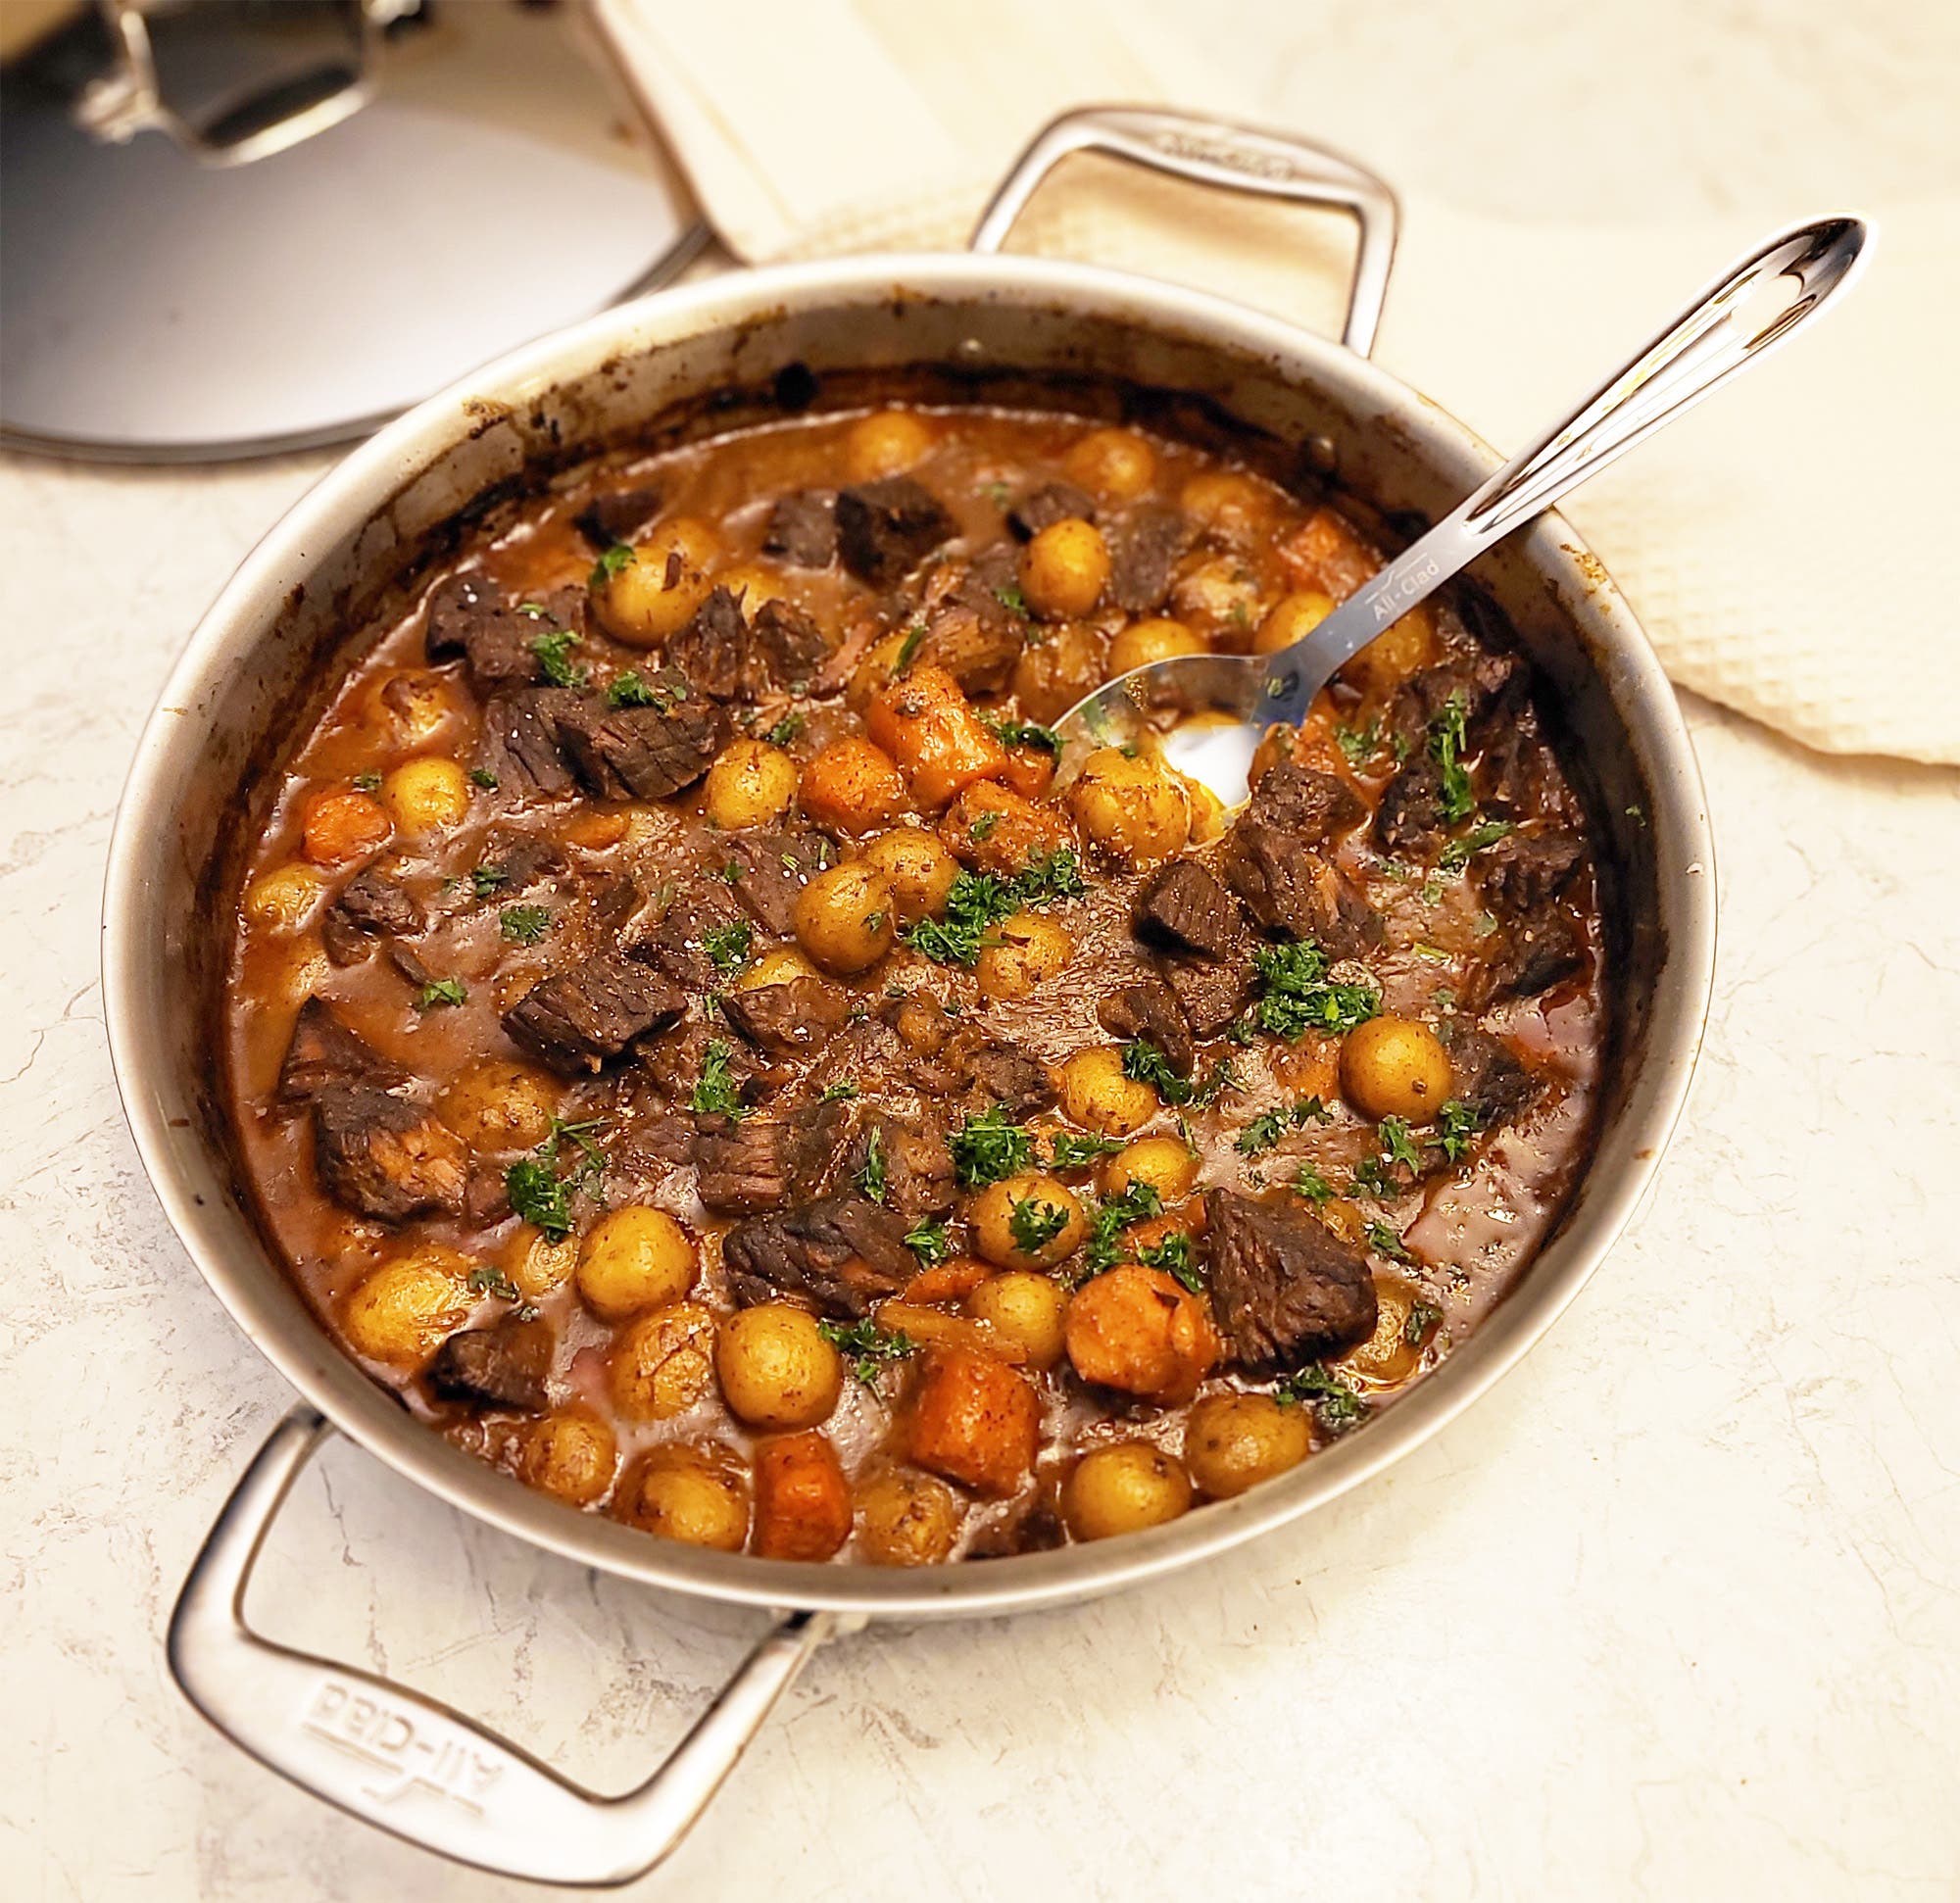
Heidi´s Beef Stew with Carrots and Mini Yellow Potatoes
After years of experimentation with beef stews, I've come across a method that truly works for me. It revolves around the idea of 'concept' cooking, offering the flexibility to incorporate traditional stew ingredients while allowing for personal adjustments, substitutions, and additions. Surprisingly, I've discovered that searing all the meat isn't necessary—a revelation that not only saves time, but still enhances the infusion of meat flavors into the gravy during cooking.
Moreover, I've come to appreciate the efficiency and flavor boost that come with using convenient shortcuts like mini potatoes, which significantly reduce prep time while elevating the overall taste profile.
Feel free to scale up the recipe and stash away half for another occasion. Enjoy!
| TYPE | MAIN COURSE |
| SERVES | 4 TO 6 |
| DIFFICULTY | EASY |
| PREP TIME | 30 MINUTES |
| COOK TIME | 180 MINUTES |

Ingredients
- 3 lbs. beef stew, pre-cut
- 4 tablespoons of flour
- 2 onions, chopped
- 2 teaspoons garlic, chopped (jarred pre-chopped garlic works too)
- 1 1 lb. bag of carrots, peeled and cut 1" wide
- 3 tablespoons tomato paste
- 2 beef bullion cubes, plus 2 cups of water
- 2 bay leaves
- 1 teaspoon thyme
- 1/4 cup red wine
- 1.5 lbs. little yellow potatoes (A)
- olive oil, enough to coat bottom of the pan
- salt and pepper to taste
- 2-3 tablespoons chopped parsley for garnish at the end
Directions
- Preheat oven to 350°F.
- Mix meat, flour, and salt and pepper in a large mixing bowl and let it sit for about 20 minutes.
- While the meat rests, chop the onions with a sharp knife and start sautéing with the olive oil in the pre-heated D3 Stainless Steel 6 Qt. Mother of All Pans.
- Then add the garlic and brown this mixture for at least 30 minutes to bring out the flavor from the onion.
- While the onion cooks, peel and chop the carrots, put aside.
- Once the onions and garlic mixture is nicely browned, push it to one side of the pan and turn up the heat. Add the meat, only adding enough meat so each piece has space to sear by itself. (B) Occasionally stir the onion and garlic mixture so it doesn't overbrown.
- Once the meat has seared nicely on one side, you will be able to turn it over and sear on all of the other sides. There is no need to scrap the meat off the bottom of the pan, the meat tells you when it's ready to turn by naturally releasing from the pan on its own. Add more oil if needed.
- Once all sides are nicely seared, turn down the heat and add the tomato paste and mix it in with the meat, along with the onions and garlic already in the pan. Don't worry if it sticks to the bottom of the pan, we'll fix that in the next step.
- Now we are going to deglaze the pan. This will help release all those flavorful bits and pieces stuck on the bottom of the pan. Slowly add 2 cups of water to the pan, mixing and scrapping up all the pieces on the bottom of the pan. Notice how easily the pieces are released? It's magic. Add the 2 bullion cubes, and now add the rest of the meat, including any flour left in the bowl.
- Add and stir in the bay leaves, thyme, wine and more salt and pepper.
- Add and stir in the carrots and potatoes.
- Cover the pan with the lid and place in your pre-heated oven for about 3 to 4 hours.
- Now clean up, it should be quick as all of this was made in one pan with minimal prep, and relax while dinner cooks.
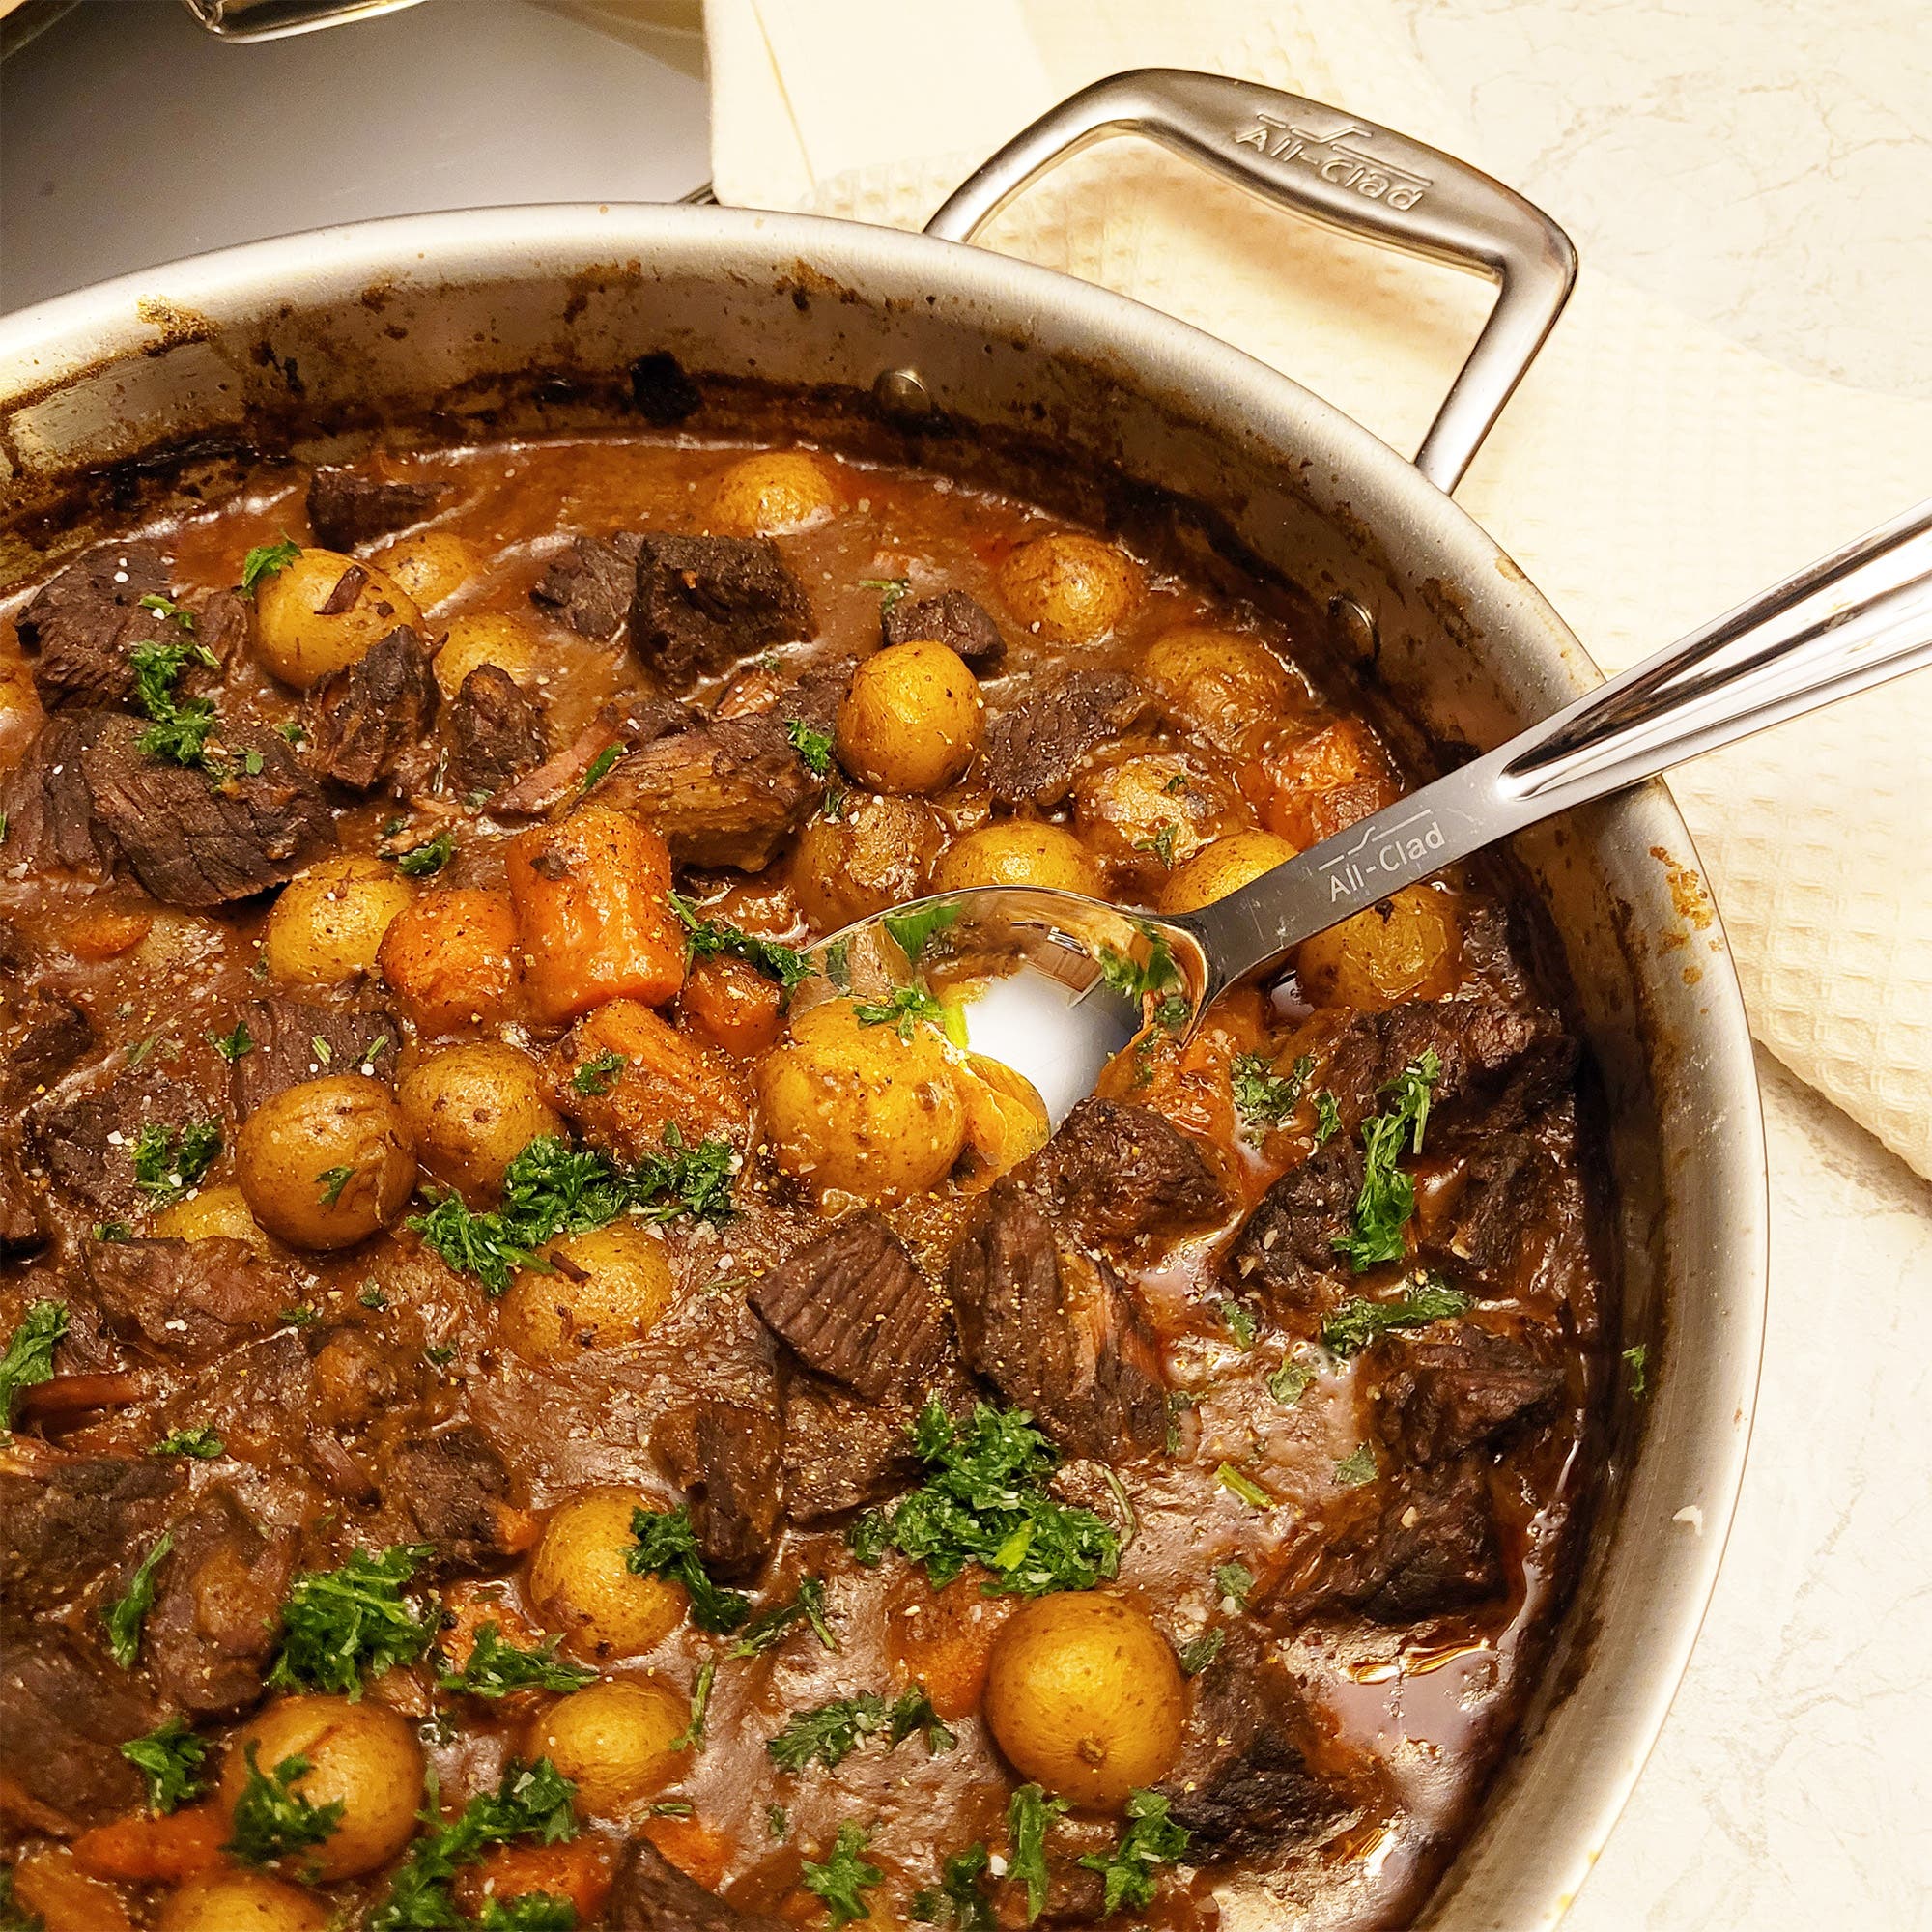
- Once the meat is tender, carefully remove it from the oven. (C) Stir in some salt and pepper to your liking, and then top it off with the chopped parsley for a fresh look. Enjoy!
Cook's Notes:
- A - I love these mini potatoes. They are a bit more expensive than larger potatoes, but the flavor is awesome. Plus, you don't need to peel or wash them, a great time saver.
- B - I find it's only necessary to sear half the meat for overall flavor as the meat flavor will eventually blend into the entire stew while cooking. Be careful and don't add all of it, otherwise the meat will start to bubble and steam and you will never get a good sear.
- C - The handles and lid will be hot when removing from the oven. Be sure to place oven mitts on each handle while resting on your counter or table.
Pro Tip
This is a great one-pan recipe with minimal clean up, and the oven does all the work. Double it and freeze it for you next last minute meal.
Essential Ingredients for Rich, Tender Results on your Beef Stew Recipe
- Beef is the key ingredient, so chose wisely for a good outcome.
- Worcestershire sauce brings umami notes that enhance the meat's natural flavors.
- Fresh mushrooms contribute earthiness, absorb flavors and provide a nice texture.
- Pearl onions offer sweet bursts of flavor throughout the stew.
- Celery root provides subtle complexity and natural thickening properties.
- Quality beef stock forms a robust foundation, and can be superior to bouillon cubes or water.
- Fresh rosemary sprigs infuse aromatic depth during the long cooking process.
How to cook beef?
How long does beef stew take to cook?
The perfect cooking duration varies by method. On the stovetop, plan for 2.5 to 3 hours at a gentle simmer until the meat becomes fork-tender. In a Dutch oven at 325°F, the stew needs about 2.5 hours for optimal results.
For slow cooker enthusiasts, set your device on low for 8-10 hours to achieve that melt-in-your-mouth texture. A pressure cooker offers the quickest route, requiring just 35 minutes at high pressure, plus natural release time.
Watch for these doneness indicators: the beef should easily break apart with a fork, vegetables should be tender but not mushy, and the broth should have thickened naturally. Remember to check the meat's tenderness periodically during the final hour of cooking.
What ingredients do you need for beef stew?
Start with chuck beef, a well-marbled cut that becomes remarkably tender during cooking. Fresh vegetables form the foundation: yellow onions bring natural sweetness, while baby carrots and mini yellow potatoes create hearty substance.
For a rich, savory base, combine quality beef broth with a splash of dry red wine. Fresh garlic and aromatic herbs like thyme and bay leaves infuse depth, while a touch of tomato paste adds complexity.
Consider elevating your stew with green peas in the final minutes - they bring color and fresh flavor. Season thoughtfully with salt and black pepper throughout the cooking process to develop layers of taste.
Remember to coat your beef pieces in flour before browning - this step ensures a beautifully thickened broth as your stew simmers.
Serving and Storage Tips for Best Results
Transform your beef stew into an exceptional meal by serving it piping hot in warmed bowls to maintain the perfect temperature. A sprinkle of fresh herbs just before bringing it to the table enhances both presentation and flavor.
For storage, let the stew cool completely before transferring to airtight containers. Place in the refrigerator within two hours of cooking, where it stays fresh for up to 4 days.
Want to preserve your homemade stew longer? Portion it into freezer-safe containers, leaving a half-inch space at the top for expansion. The stew can maintain peak quality in the freezer for up to 3 months when properly stored. When ready to enjoy, thaw overnight in the refrigerator and reheat thoroughly on the stovetop, adding a splash of broth if needed to restore the original consistency.
RECIPE BY
Heidi – All-Clad employee
An empty nester Mom who loves to batch cook.


